I mentioned about building a cabinet to display some of my collection back here. My home renovation was completed nearly 2 months ago, but I only had time recently to start putting things together in the display cabinet. From the blueprint design to the completed cabinet: 
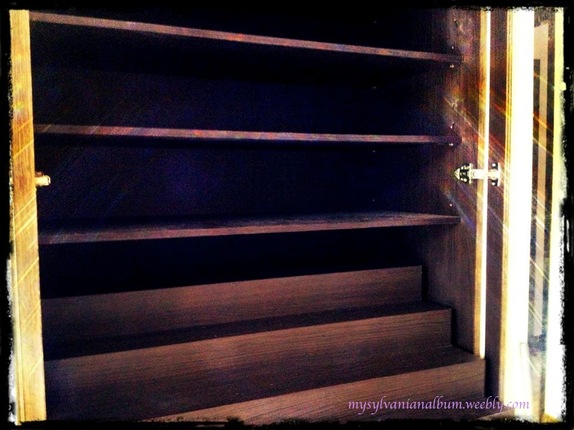
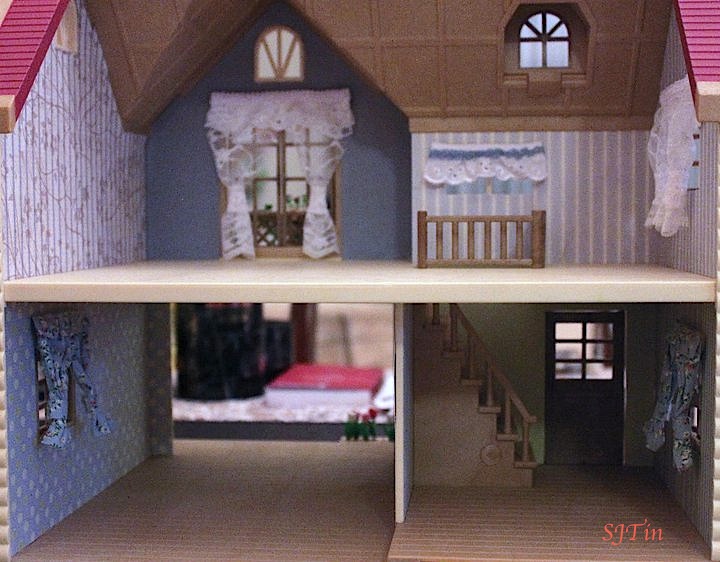
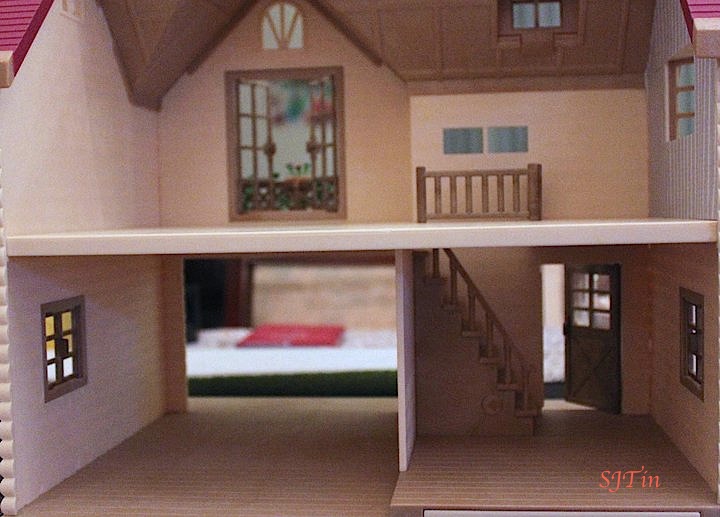
And more recently to this: There's still quite a bit of tidying up to do though. I have another shelf that I need to put up some background scenery. It took me a couple of hours to wallpaper the sides of the cabinet. I had installed a dehumidifier unit and also an electric socket inside the cabinet and I had to cut around these units. Well, it's a labour of love. I hope in a few more months I can share photos of the finished project.
0 Comments
Earlier this year, I had the luck to come across the JP Urban Life Cafe Terrace complete with tables, chairs and serving counter, and missing only a few items. The building was released by Epoch in 1988, thus it is hard to find nowadays. I love the posh look and the pink color of the building. Unfortunately, the Cafe Terrace was not in mint condition and the pink color of the building had discolored in some areas probably due to exposure of sun and age. More about the Cafe Terrace later on. Today, I am focusing on the white Cafe Terrace tables and chairs that came with the building, which have become somewhat mottled and yellow with age: The fastest way to spruce up the look of the tables and chairs is to paint them again in the rather easy color of white. Initially I was going to paint them using the brush, but after second thought, a spray paint would guarantee a smoother and even finish. Spray painting would dry quicker as well, given my earlier experience with the brush. Thus, ka-ching! More money is spent on cans of spray in "white"...and then there was the base paint and also the color sealer. Firstly, I sprayed the Tamiya Flat Base paint as primer, and had to spray several layers to cover the entire chair evenly. Between each layer of sprays, I had to give some time for the paint to dry. Next is the color paint itself. I think I had to spray about 7 layers or so to achieve just the right kind of whiteness for the chair. After the color paint, I sprayed on the sealer in Clear Gloss and this was probably the shortest task in the entire process. It was all trial and error for me as I had never done any spray painting for models or miniatures. But fortunately, there was no major mistake during the painting process where I had to remove the paint job and start all over again. The whole project of spray painting 2 tables and 4 chairs took me over four laborious days to complete.
Lesson learned in this project is that the next time where I have to paint in light colours, I will definitely use Tamiya's White Base as opposed to their Flat Base. I could probably finish the project quicker using a white base as I would not have had to spray too many layers to achieve the right color tone. I opened The Toymaker's Set and was disappointed to find that some of the accessories did not quite look like the ones featured on the photos of the box. If you also have the set, you will see that the paintbrushes Uncle Edward Mulberry uses, as well as the hammer and spatula-looking tool, have that grey plastic look. I want the tools to look more real, so what a girl's gotta do? Spend more money to buy paints and brushes and try to re-decorate the Sylvanian Families accessories. For the project, I used Tamiya paints. I decided not use a primer as the objects are quite small (and I was loath to spend more money on such a small project). The paint took a long time to dry, I'm not sure why. The uncle at the hobby shop where I purchased the paints told me it may be due to the air circulation inside my house and the fact that I am using the bottle paints and not the airbrush paints. Okay.
I forgot to take the "before picture", but if you do happen to have the Toymaker's Set, you can compare the original accessories to this: After reading some suggestions on making Sylvanian homes look more cosy, I decided to try wallpapering the Lakeside Lodge. It's not as easy as it first seems. Unfortunately, pre-cut Sylvanian Families wallpapers which you can buy off-the-shelves are only available for the newer released homes like the Willow Hall (or House of Lights). First task, I had to select the right wallpaper by going through my rather big stash of scrapbooking supply. The patterns in the wallpaper must be small enough that it is suitable for a miniature house, and it must not be too bold and the color not too strong so that it will complement any furnitures and accessories that I put inside the house. Then, I had to make templates of the walls, and the templates are used to cut the wallpaper card stock. This stage took the longest and sometimes the measurements were all wrong. Anyways....days later, the result is as follows. Does it look more cosy compared to no wallpaper (I also added hand-made curtains)? This is the "before" photo of Lakeside Lodge:
|
About MeI like to experiment with photography and dabble in crafty things. I started collecting Sylvanian Families in 2009 and hope that someday my little daughter will enjoy playing and collecting Sylvanian Families as much as I do. Archives
October 2016
Categories
All
Sites I Visit: |